node.js + typescript 환경에서 진행했습니다.
package.json은 다음과 같습니다.
{
  "name": "producer-express",
  "version": "1.0.0",
  "description": "",
  "main": "index.js",
  "scripts": {
    "test": "echo \"Error: no test specified\" && exit 1",
    "start": "nodemon --watch index.ts --exec ts-node index.ts",
    "build": "npx tsc"
  },
  "author": "",
  "license": "ISC",
  "dependencies": {
    "express": "^4.18.2",
    "kafkajs": "^2.2.3",
    "kafkajs-lz4": "^2.0.0-beta.0",
    "kafkajs-snappy": "^1.1.0"
  },
  "devDependencies": {
    "@types/express": "^4.17.17",
    "@types/node": "^18.13.0",
    "nodemon": "^2.0.20",
    "ts-node": "^10.9.1",
    "tsc-watch": "^6.0.0",
    "typescript": "^4.9.5"
  }
}
nodemon, --watch를 사용하기 위해 npm start를 다음처럼 작성했습니다.
"start": "nodemon --watch index.ts --exec ts-node index.ts",
index.ts가 변경되면 ts-node index.ts 명령어를 실행(--exec)합니다.
typescript는 build 되고 난 후에는 사용하지 않으므로, devDependencies에 설치합니다.
그리고 지금은 kafka를 연습하는 것이므로 index.ts 파일 하나로만 진행합니다.
import express, { Request, Response } from 'express'
import { Kafka, CompressionTypes, CompressionCodecs } from 'kafkajs'

const app = express()
const port = 4000

// kafka 인스턴스를 생성합니다.
const kafka = new Kafka({
  clientId: 'my-app', // 원하는 문자열로 지정합니다.
  brokers: ['localhost:29092', 'localhost:29093', 'localhost:29094']
  // 전 글에서 PLAINTEXT_HOST://localhost:29092, 29093, 29094 으로 지정했던 것을 넣습니다.
})

// producer 객체를 생성합니다.

/**
 *    allowAutoTopicCreation
 *    전송하는 메세지에 대한 토픽이 없으면 자동으로 생성합니다.
 *    운영 환경에서는 무분별하게 생성될 수 있으므로 사용하지 않는 것이 좋습니다.
 *    transactionTimeout (ms)
 *  이 시간 안에 트랜잭션이 완료되지 않으면 롤백합니다.
 *  maxInFlightRequests
 *  한 번에 보낼 수 있는 메세지의 개수입니다. 1로 하면 순차적으로 전송하고, 1보다 크게 하면 병렬로 처리합니다.
 *  node.js의 경우 이벤트루프가 받아서 처리한다고 합니다.
 *  transactionId
 *  트랜잭션에서 사용할 고유 id 입니다.
 *  idempotent
 *    중복 메세지를 방지하는 기능이며, broker에 한 번만 저장되도록 합니다. 멱등성 보장
 */
const producer = kafka.producer({
  allowAutoTopicCreation: true,
  transactionTimeout: 30000,
  maxInFlightRequests: 1,
  transactionalId: 'my-transactional-id',
  idempotent: true
})

// producer 앱을 실행하기 위한 실행함수입니다. bootstrap()과 같은 역할 입니다.
const initKafka = async () => {
  await producer.connect()
}

// rest api에 path parameter로 데이터를 보내고, 그것을 kafka로 전송합니다.
app.post('/events/:event', async (req: Request, res: Response) => {

  await producer.send({
    // 데이터를 보낼 토픽을 지정합니다.
    topic: 'test',
    // 메세지를 여러개 보낼 수 있습니다. 기본적으로 값은 value에 넣고, key는 지정해도 되고, 안해도 됩니다.
    messages: [
      {
        value: JSON.stringify(req.params.event)
      },
      {
        key: 'key',
        value: JSON.stringify(req.params.event + '두번째')
      }
    ]
  })

  // producer.send는 그냥 보내는 것이고, 아래부분은 트랜잭션을 진행하는 코드입니다.
  const transaction = await producer.transaction()
  try {
    // producer.send 와 동일한 옵션입니다.
    await transaction.send({
      topic: 'test',
      messages: [{ key: 'key', value: JSON.stringify(req.params.event) }]
    })
    // 트랜잭션을 커밋합니다. consumer는 커밋된 메세지만 consume할 수 있습니다.
    await transaction.commit()
  } catch (err) {
    // 트랜잭션을 롤백합니다.
    await transaction.abort()
  }

  // 확인용 메세지입니다.
  res.send(`successfully stored event : ${req.params.event}\n`)

})

// 웹을 이용한 rest api가 필요하므로 app.listen을 한 후 연이어 kafka를 연결합니다.
app.listen(port, async () => {
  initKafka()
  console.log(`kafka app listening on port ${port}`)
})
kafka.producer({})의 내부 옵션은 다음과 같습니다.
export interface ProducerConfig {
  createPartitioner?: ICustomPartitioner
  retry?: RetryOptions
  metadataMaxAge?: number
  allowAutoTopicCreation?: boolean
  idempotent?: boolean
  transactionalId?: string
  transactionTimeout?: number
  maxInFlightRequests?: number
}
producer.send({}) 의 내부 옵션은 다음과 같습니다.
export interface ProducerRecord {
  topic: string
  messages: Message[]
  acks?: number
  timeout?: number
  compression?: CompressionTypes
}
Message는 다음과 같습니다.
export interface Message {
  key?: Buffer | string | null
  value: Buffer | string | null
  partition?: number
  headers?: IHeaders
  timestamp?: string
}
producer.send 말고 producer.sendBatch도 있습니다.
send는 하나의 topic에 메세지를 보내는 함수이고, sendBatch는 다수의 topic에 메세지를 보내는 함수입니다.
send는 메세지를 보낼 때 마다 함수를 호출하고, sendBatch는 한 번에 메세지를 보내며 모든 메세지가 성공적으로 전송될때까지 기다립니다.
  const topicMessages = [
    {
      topic: 'topic-a',
      messages: [{ key: 'key', value: 'hello topic-a' }]
    },
    {
      topic: 'topic-b',
      messages: [{ key: 'key', value: 'hello topic-b' }]
    },
    {
      topic: 'topic-c',
      messages: [
        {
          key: 'key',
          value: 'hello topic-c',
          headers: {
            'correlation-id': '2bfb68bb-893a-423b-a7fa-7b568cad5b67'
          }
        }
      ]
    }
  ]
  await producer.sendBatch({ topicMessages })
producer.sendBatch({})의 내부 옵션은 다음과 같습니다.
export interface TopicMessages {
  topic: string
  messages: Message[]
}

export interface ProducerBatch {
  acks?: number
  timeout?: number
  compression?: CompressionTypes
  topicMessages?: TopicMessages[]
}
CompressionTypes는 메세지를 압축하는 옵션인데,
GZIP, Snappy, LZ4, ZSTD가 있습니다.
하지만 Snappy 등 일부 라이브러리에 문제가 있는지 정상적으로 작동되지 않아 넘어갔습니다.
이렇게 코드를 작성하고, MacOS 기준으로 다음 명령어를 입력합니다.
curl -X POST localhost:4000/events/하고싶은말그러면 successfully stored event : 하고싶은말 이 메세지가 나오고,
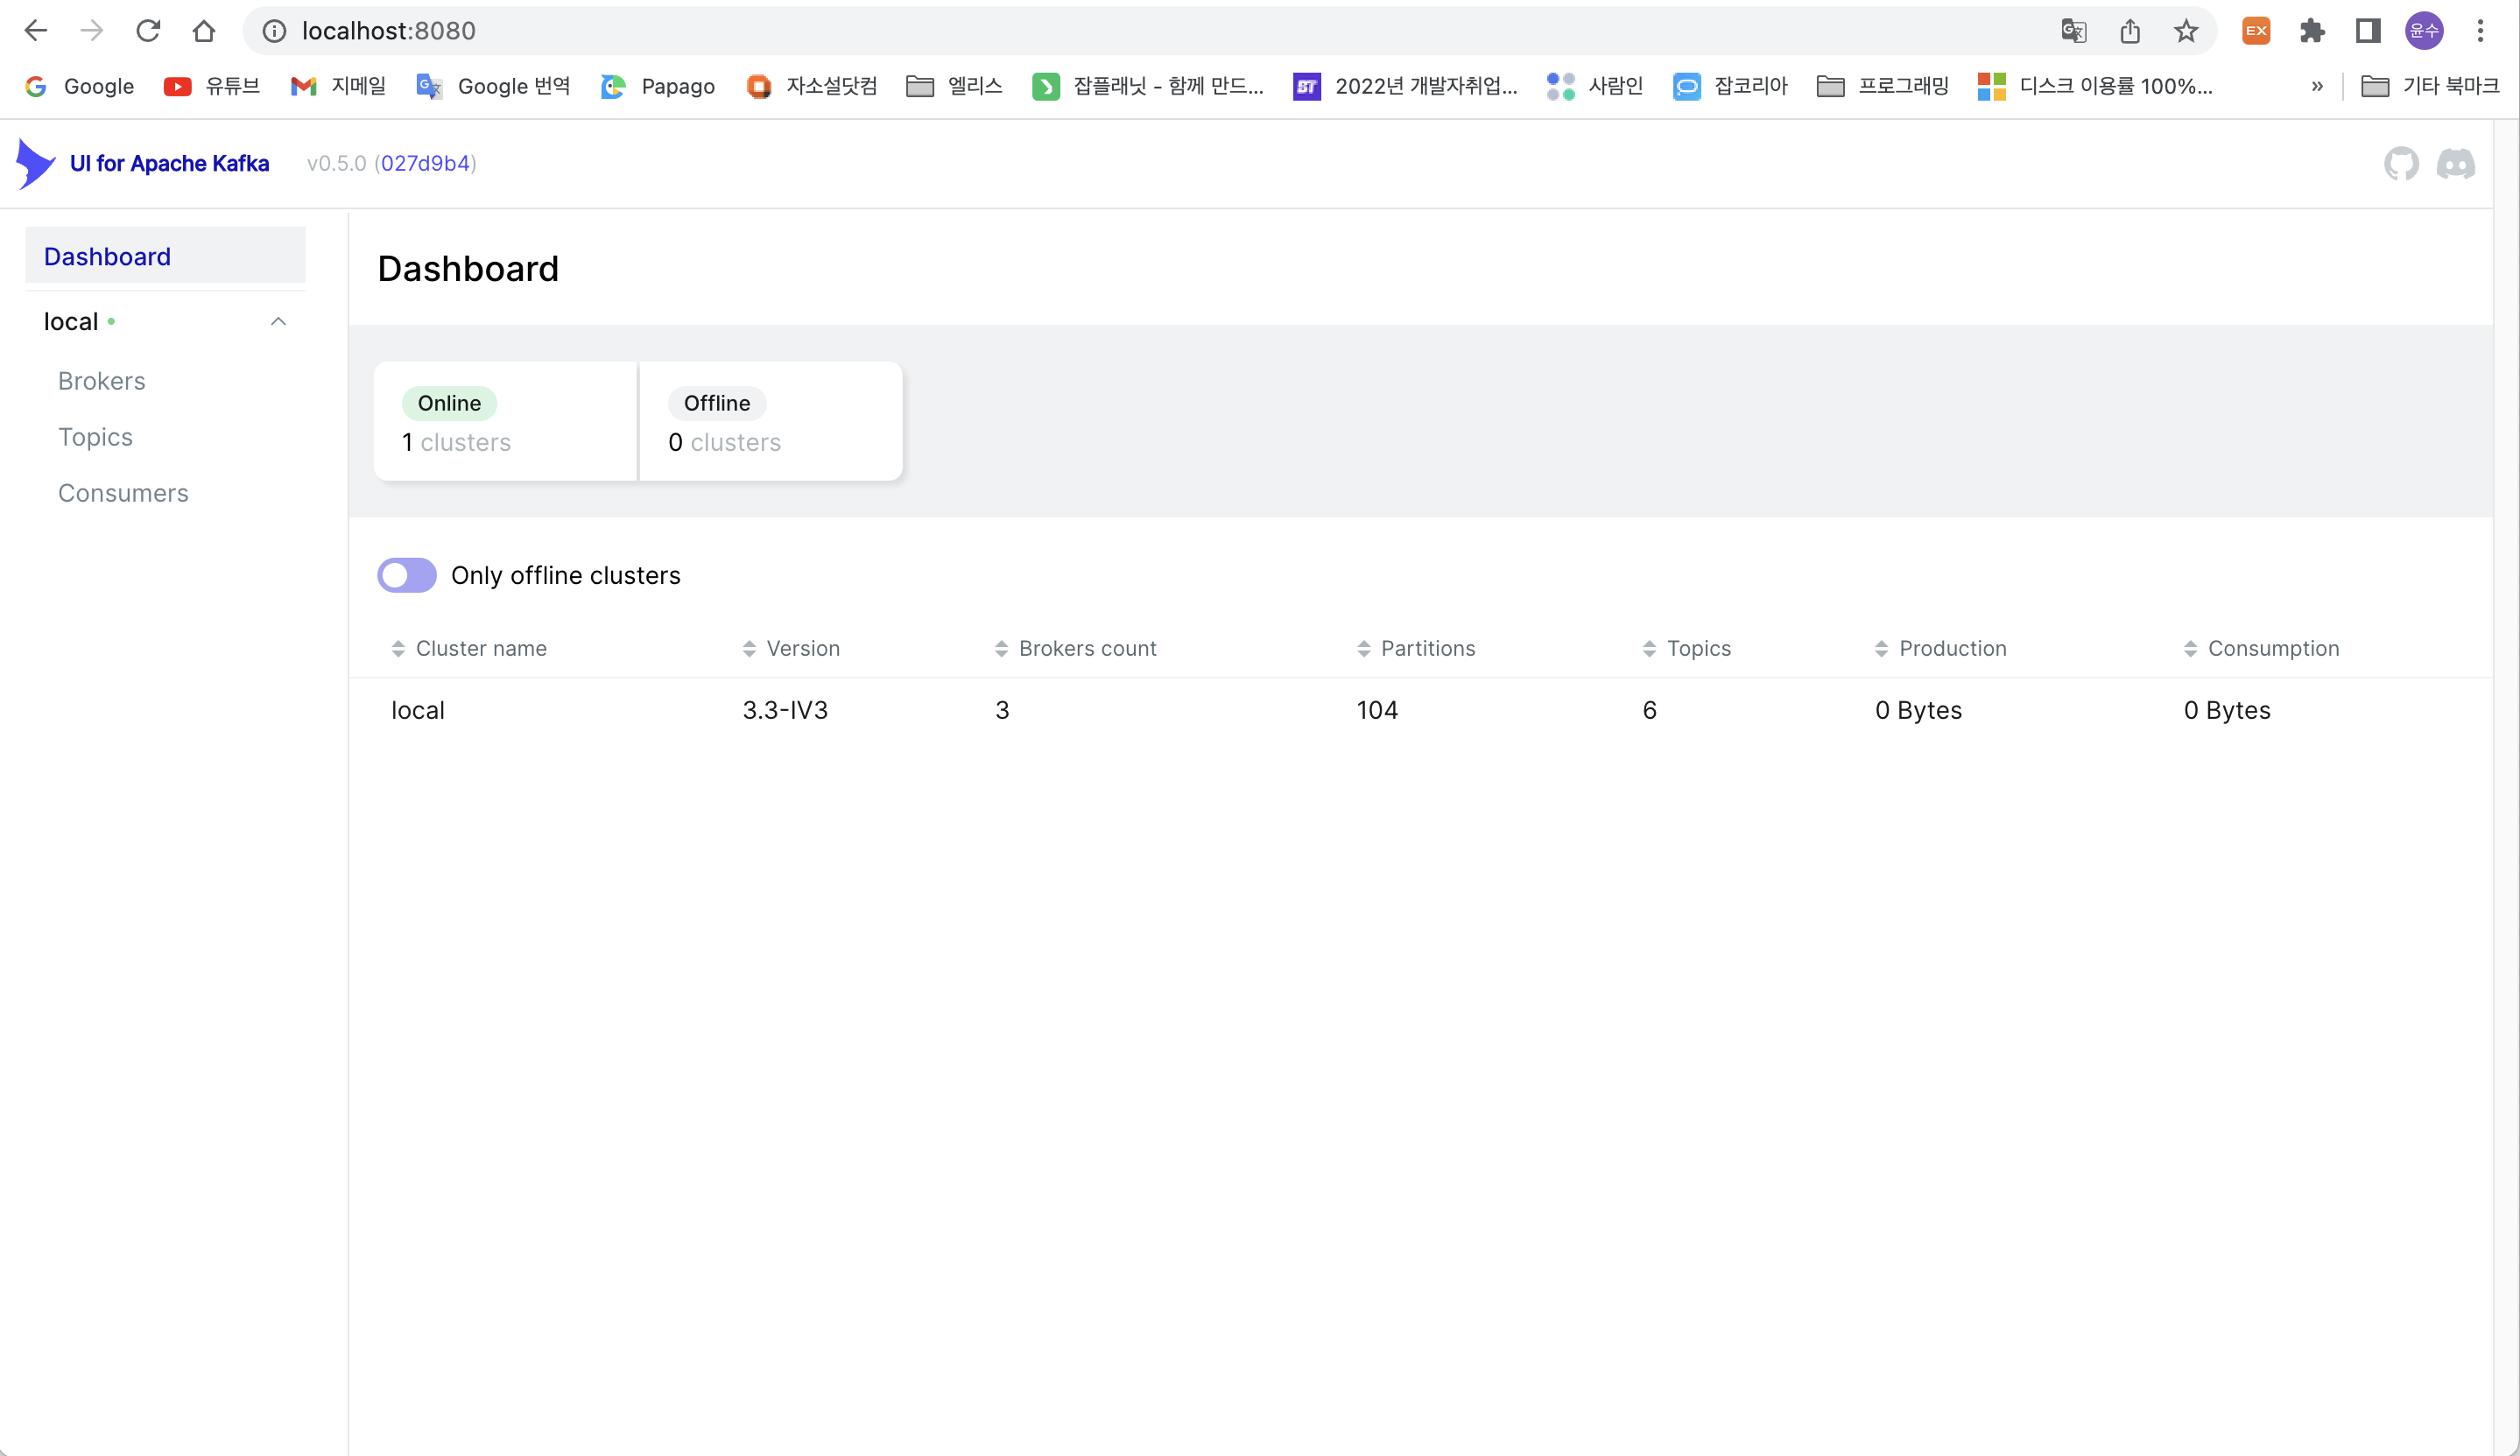
localhost:8080에 접속하여 지정한 topic에 접속하면 보낸 메세지를 확인할 수 있습니다.
처음 접속 화면
broker 목록

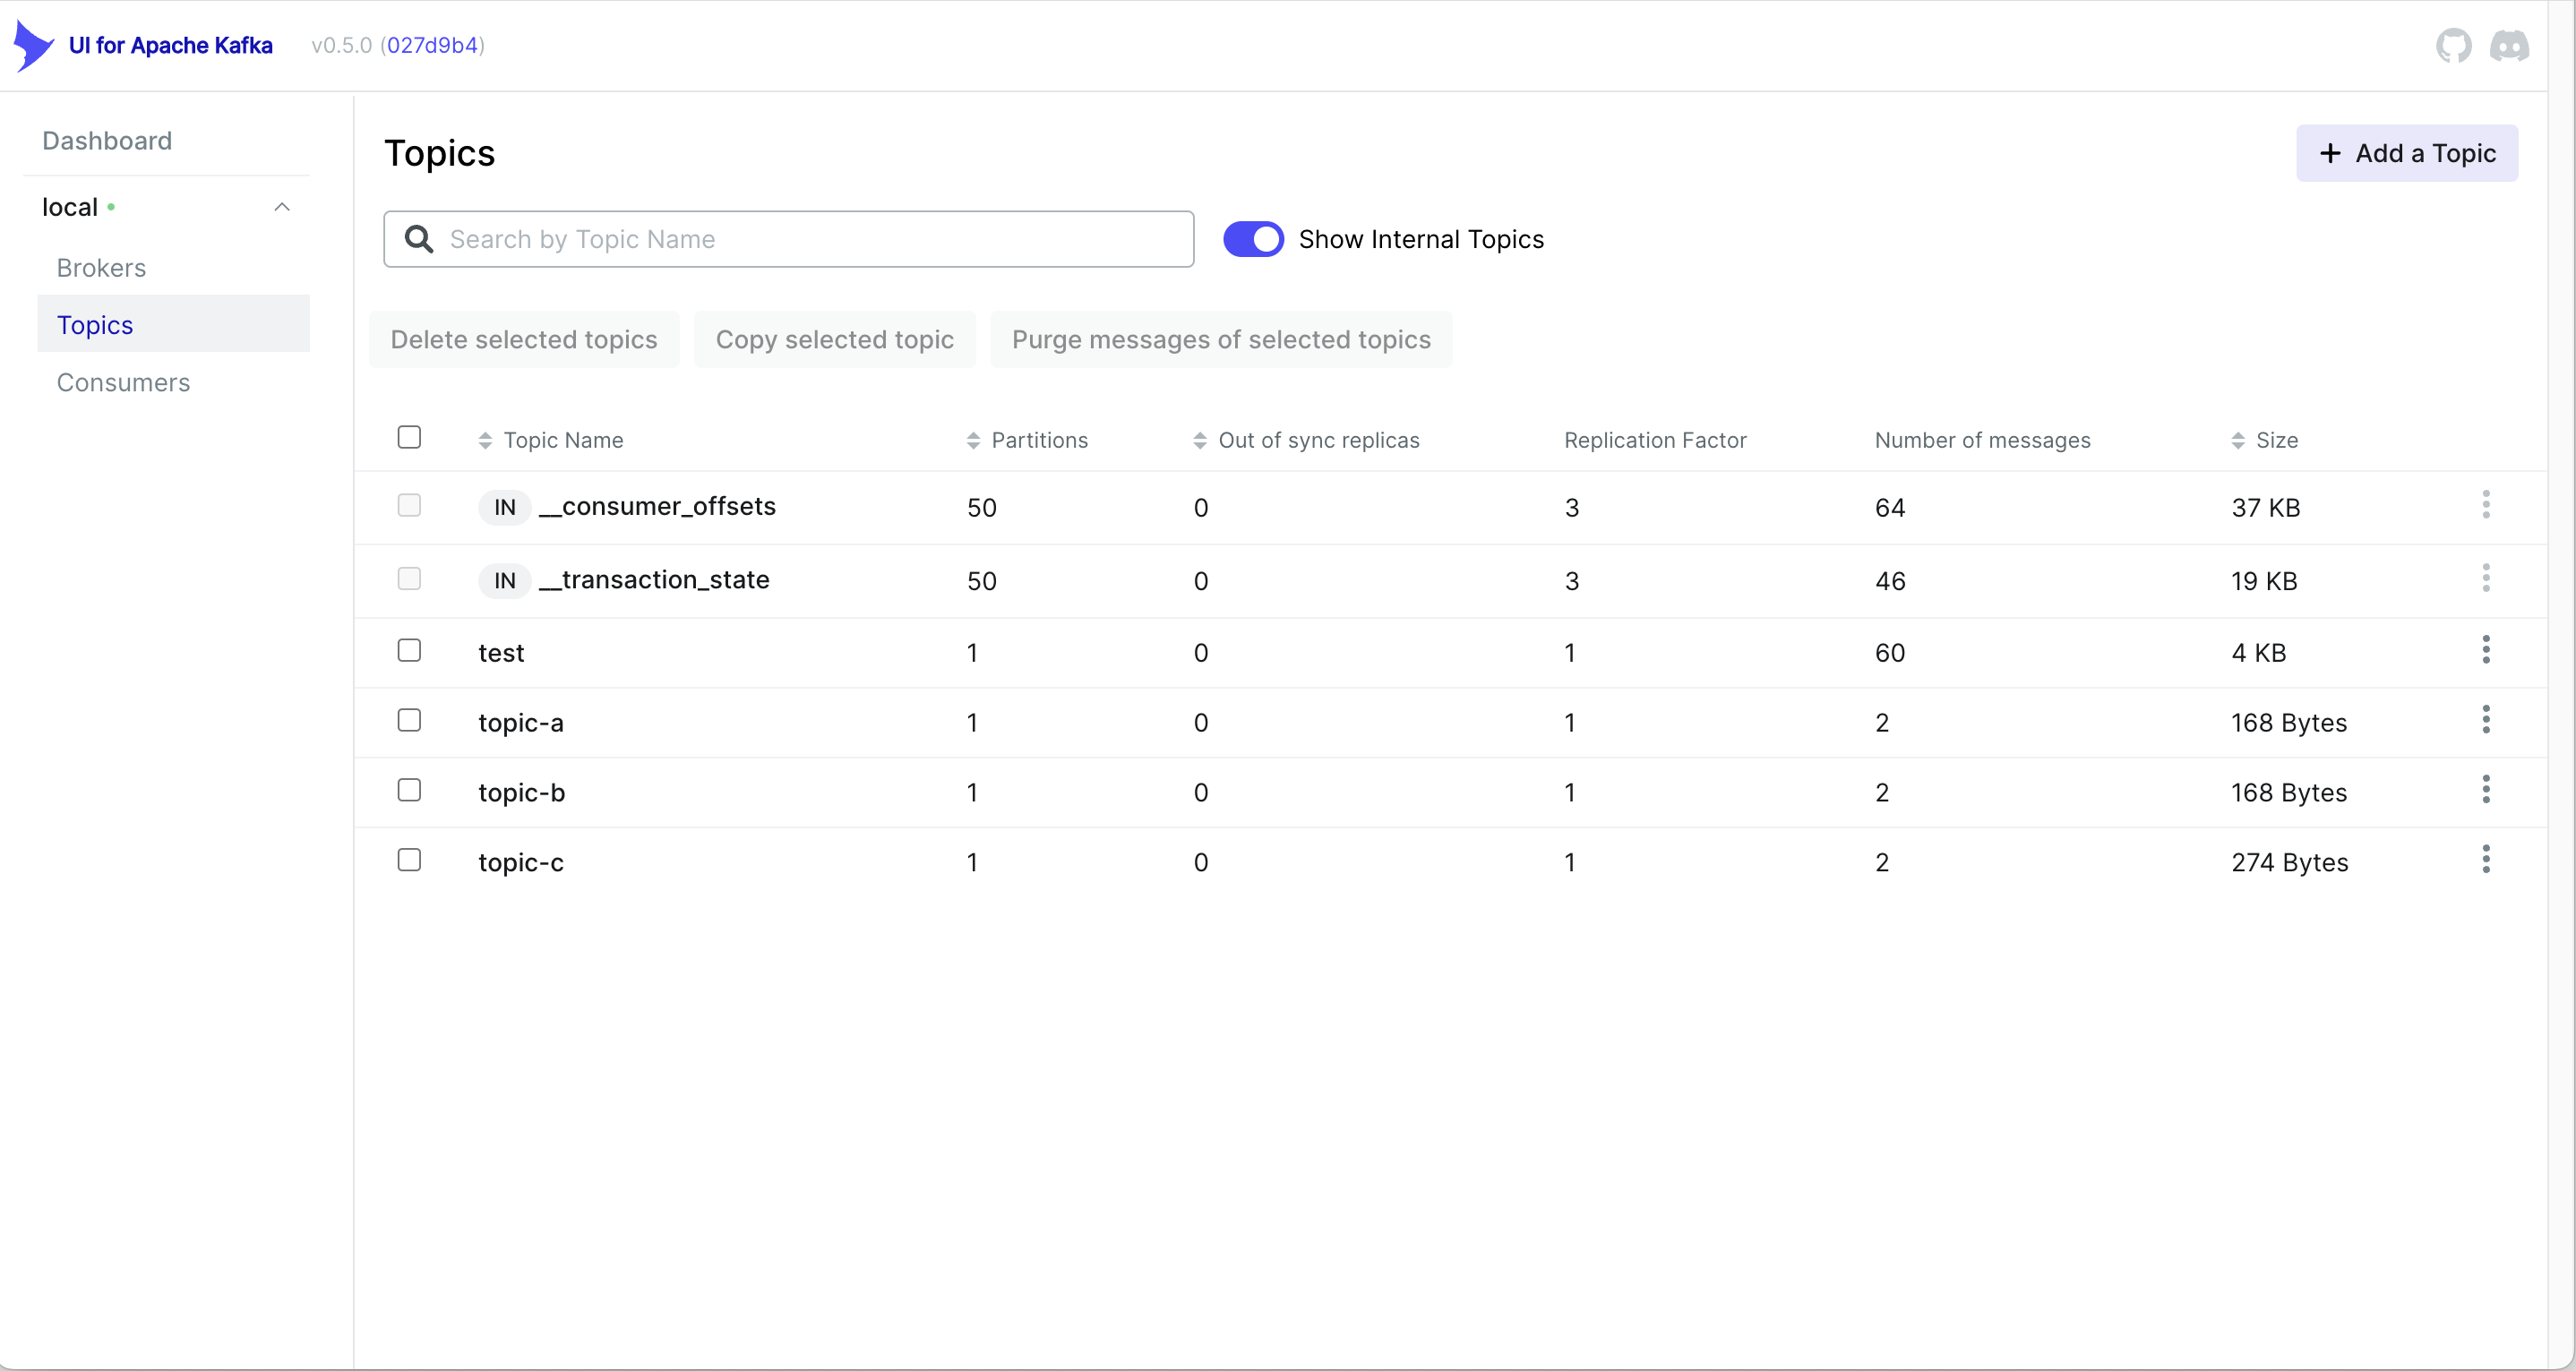
topic 목록
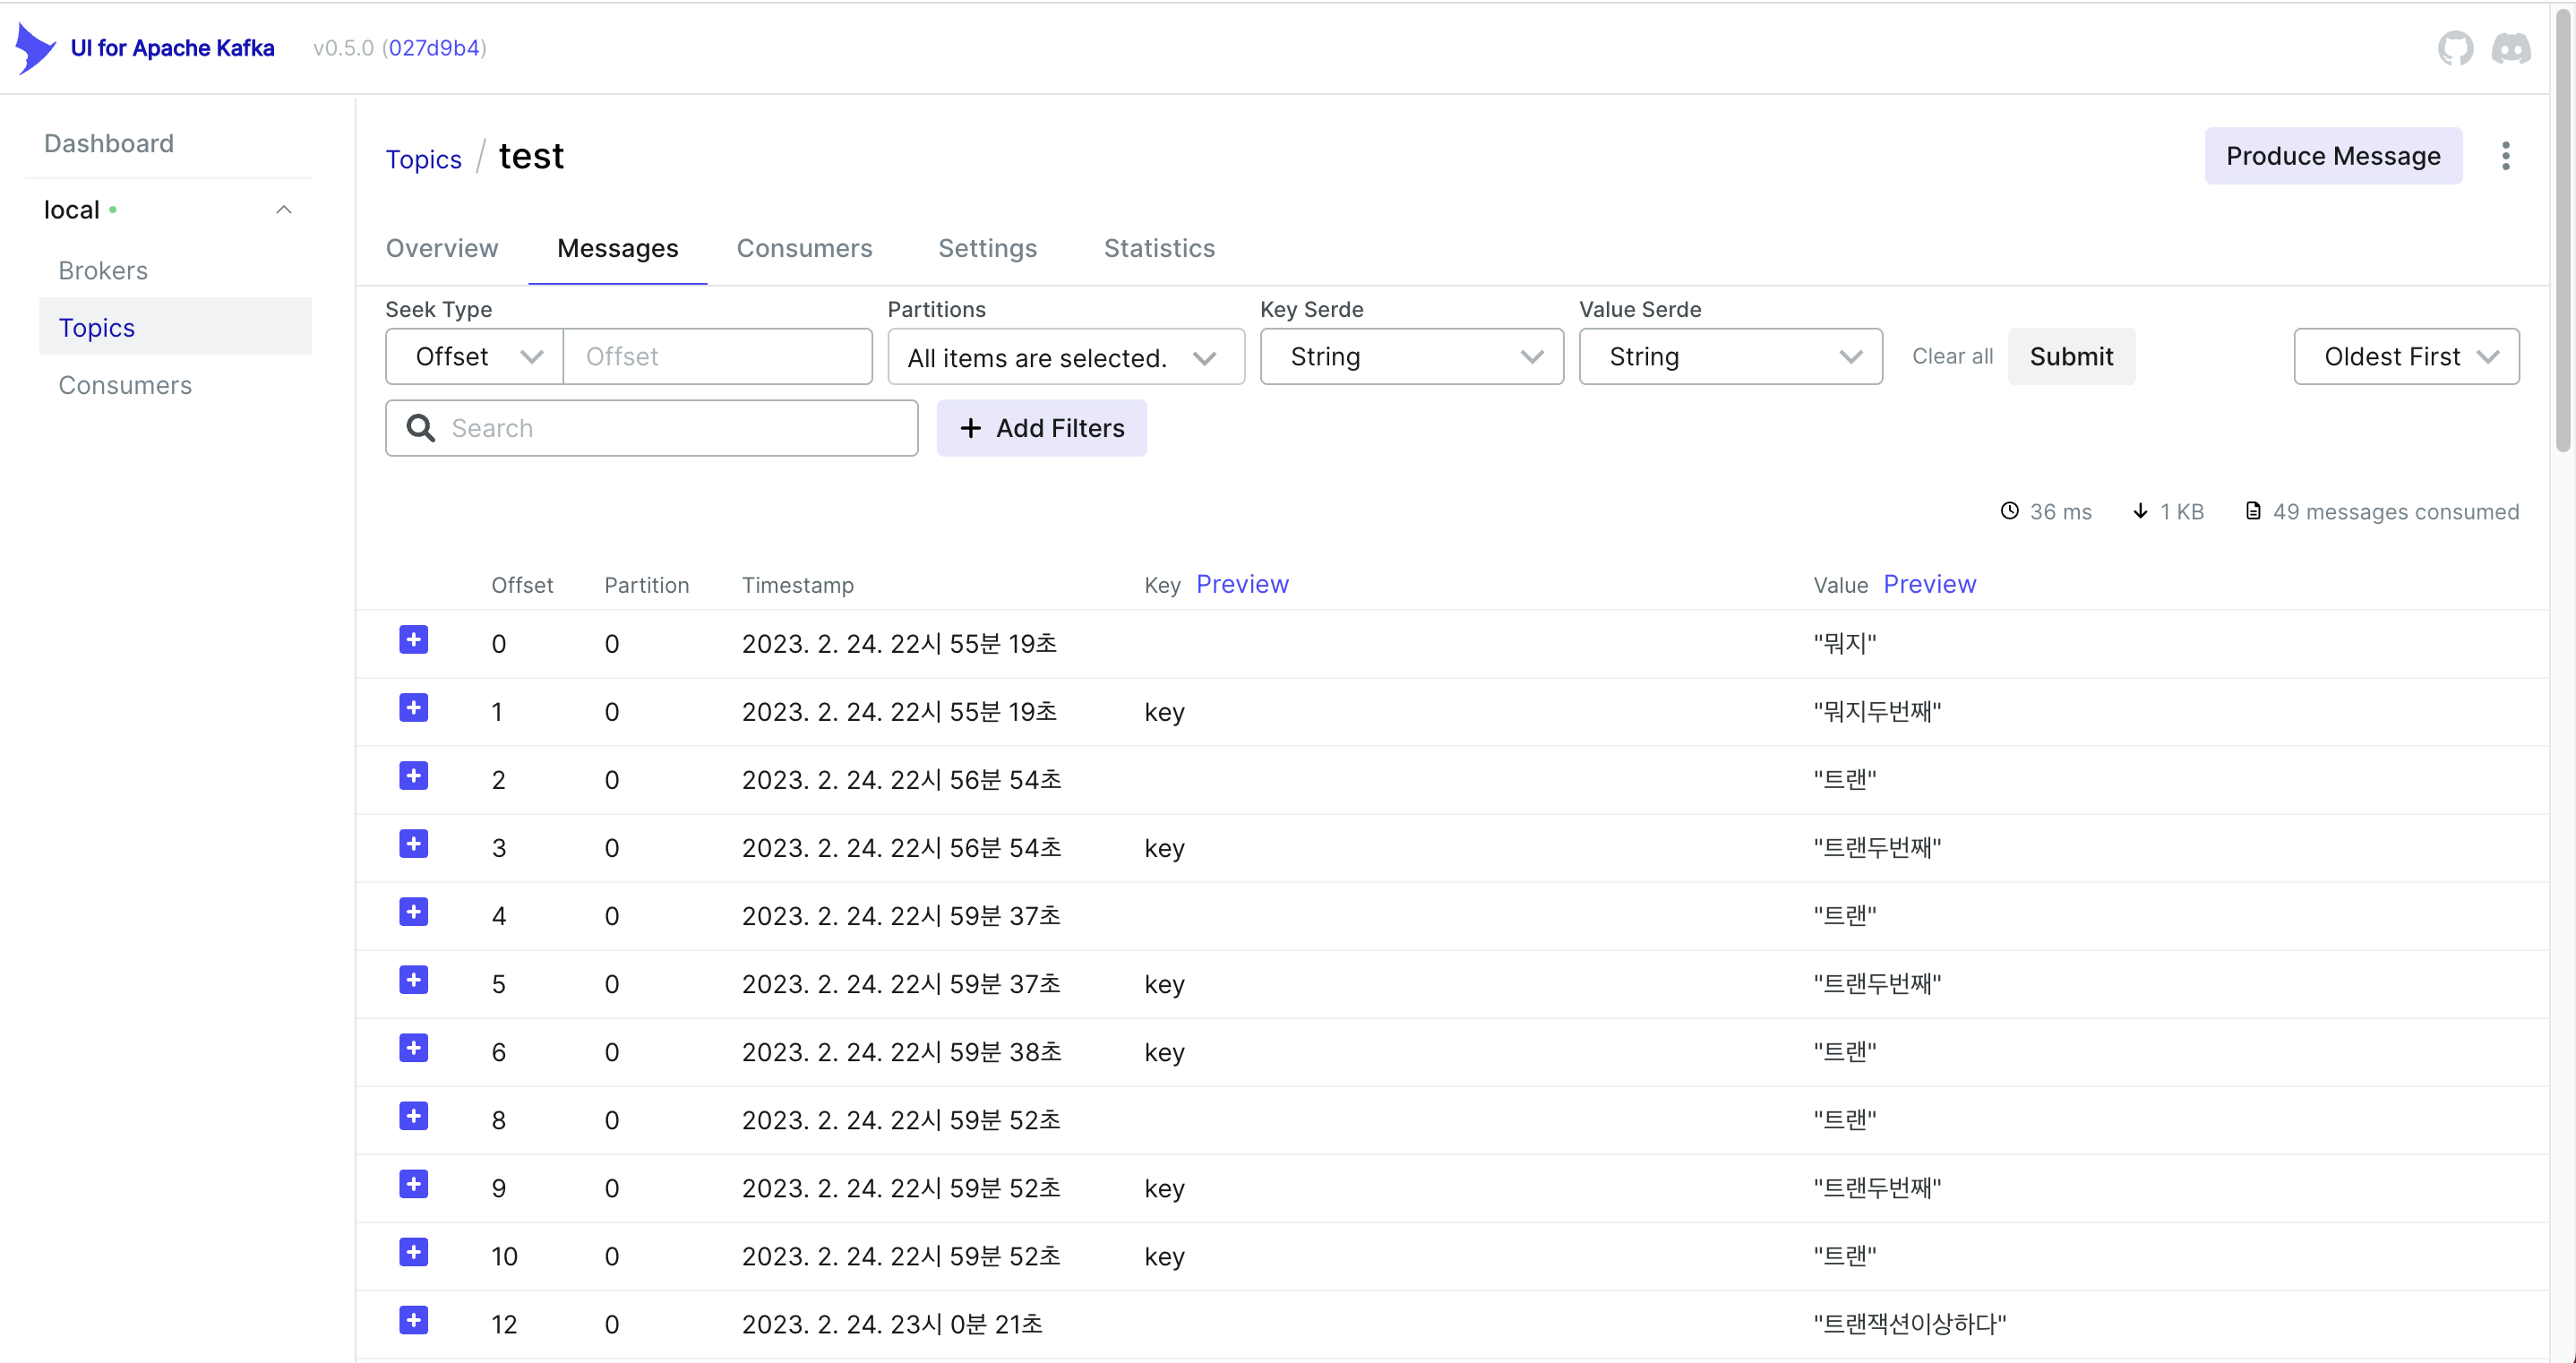
메세지 목록
저는 연습하느라 메세지를 많이 보내서 많습니다.
'MQ' 카테고리의 다른 글
| [kafkajs] consumer (0) | 2023.03.01 |
|---|---|
| [kafkajs] kafka에 대한 간단한 소개 (0) | 2023.02.26 |
| [kafkajs] docker를 이용한 kafka clustering 셋팅 방법 (0) | 2023.02.26 |
| kafka 글을 작성하기 전에 (0) | 2023.02.26 |